Stitching on a splice: tutorial
“Why complicate things when they can be made simple?”this could sum up this video tutorial that shows how to make a stitch step by step. Quick and easy to do, the sewing stitch replaces whipping to lock a splice that is not submitted to load. »
Whipping a splice: a bad habit !
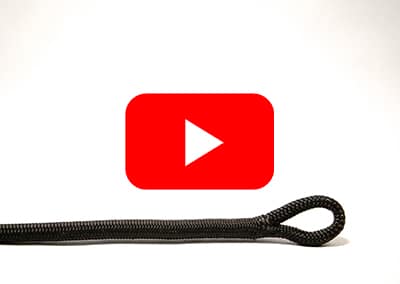
The whipping of ropes is popular with all sailors. To finish the end a rope, whipping is a possible solution, even though it is not the best (see our tutorial: “Rope termination”). But whipping to lock a splice eye, speaking frankly, is crazy! Whipping a splice (see picture on the left, below), thinking that it will be more resistant, is completely wrong because it is not the whipping that bears the load of the rope.
It is only the constriction effect (see our video “Splicing, how does it work?”)that guarantees the solidity of a splice. If the rope was permanently held under load, a correctly realised splice would, in theory, not even need to be locked at its junction. Of course, provided that the splice is undertaken on a sufficient amount of length, so that the constriction effect is efficient. The golden rule is as follows: spliced length = 100 x the diameter of the braid.


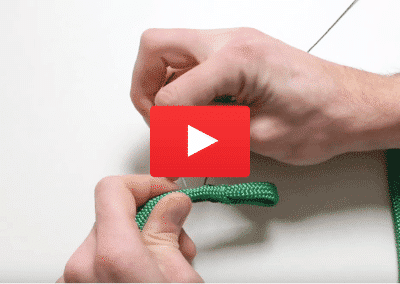
Stitching point by point
If the splice is well proportioned, blocking of the junction is necessary only when the rope is no longer under tension, meaning, when there is no more constriction effect. There is no need to give yourself a good conscience by tying your splice energetically in its stiff, strict corset with a thick whipping.A single stitch is enough to maintain a splice off load. Easy, quick to do and discrete, the sewing stitch has everything going for it! Julien Barnet, our head seamster, explains how to proceed with a loop and gives you some helpful tips for perfect needle work.
-
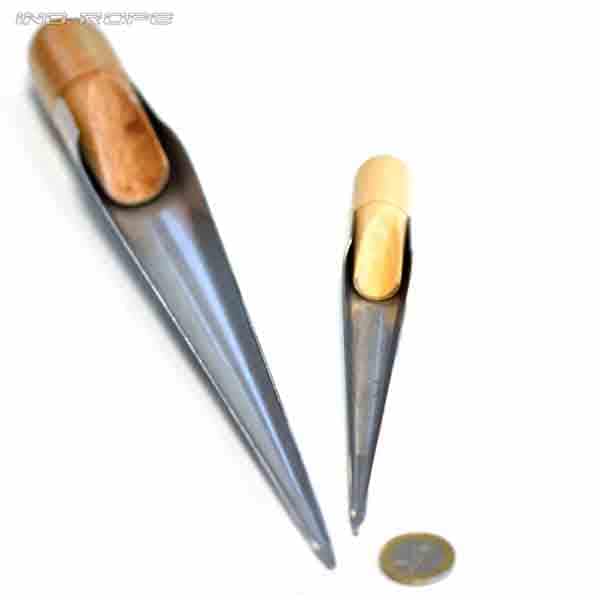 Seamanship splicerPrice range: 6,96 € through 15,60 € TTC
 -
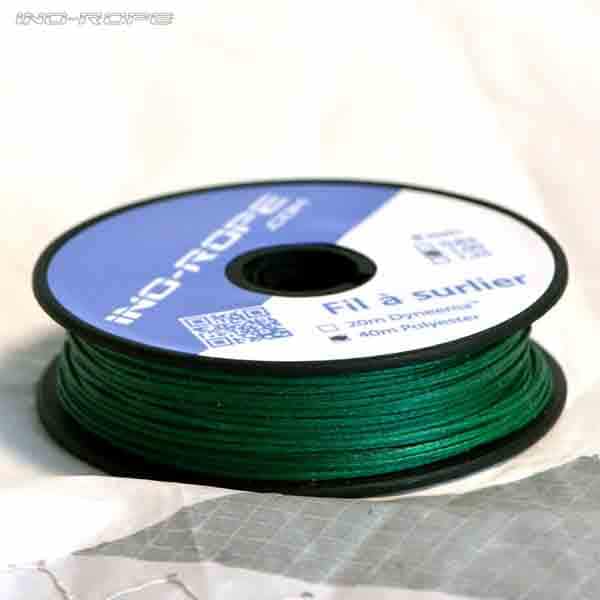 Polyester binding thread (40-meter spool)7,90 € TTC
 -
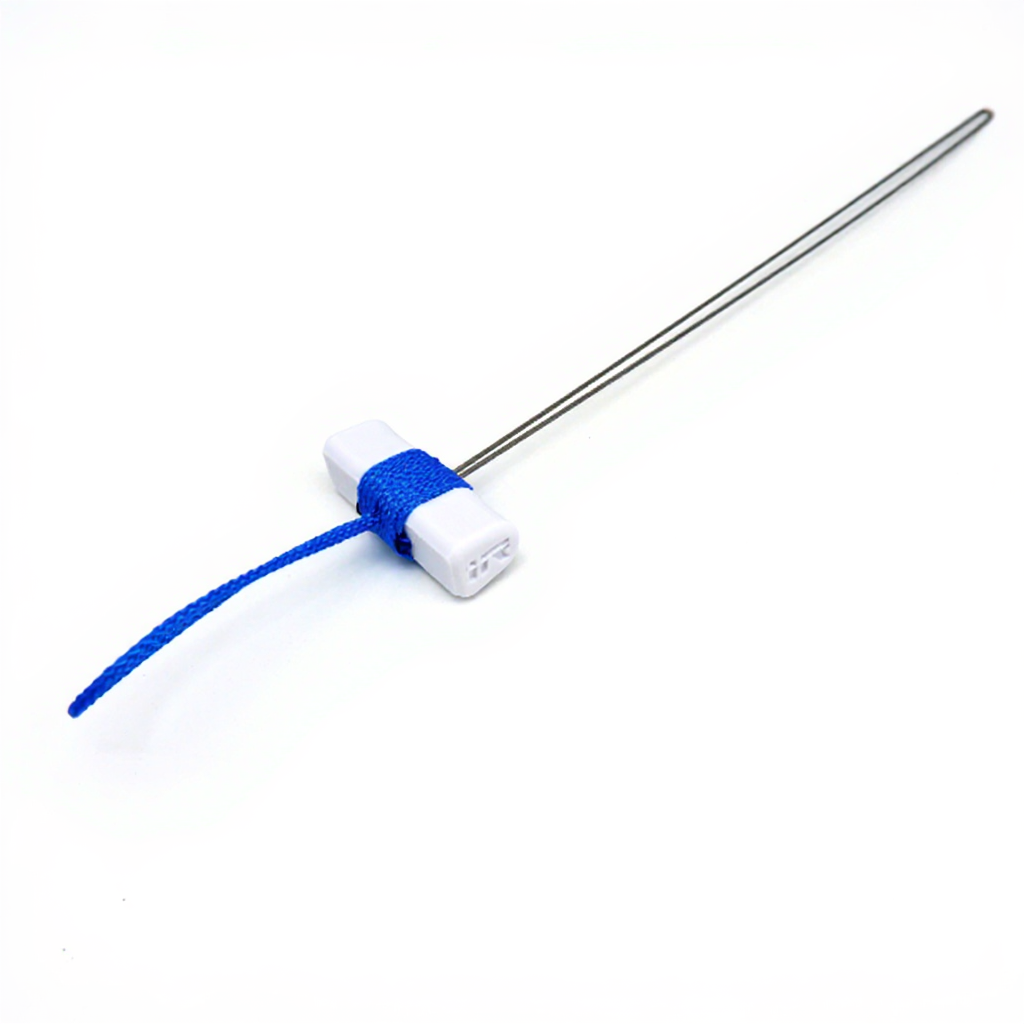 Long eye splicing needles for seamanship24,90 € TTC
 -
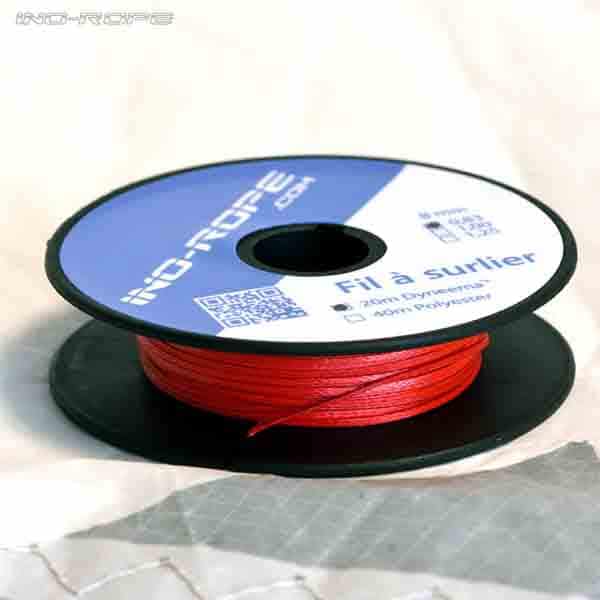 Dyneema® whipping twine (20 m spool)Price range: 9,50 € through 16,00 € TTC