Purchase guide 3/4
Docking: the right knots
The most important mooring knots are the famous two half-hitch knot and the simple but often badly made cleat hitch knot. You can also use the bowline knot but smartly!
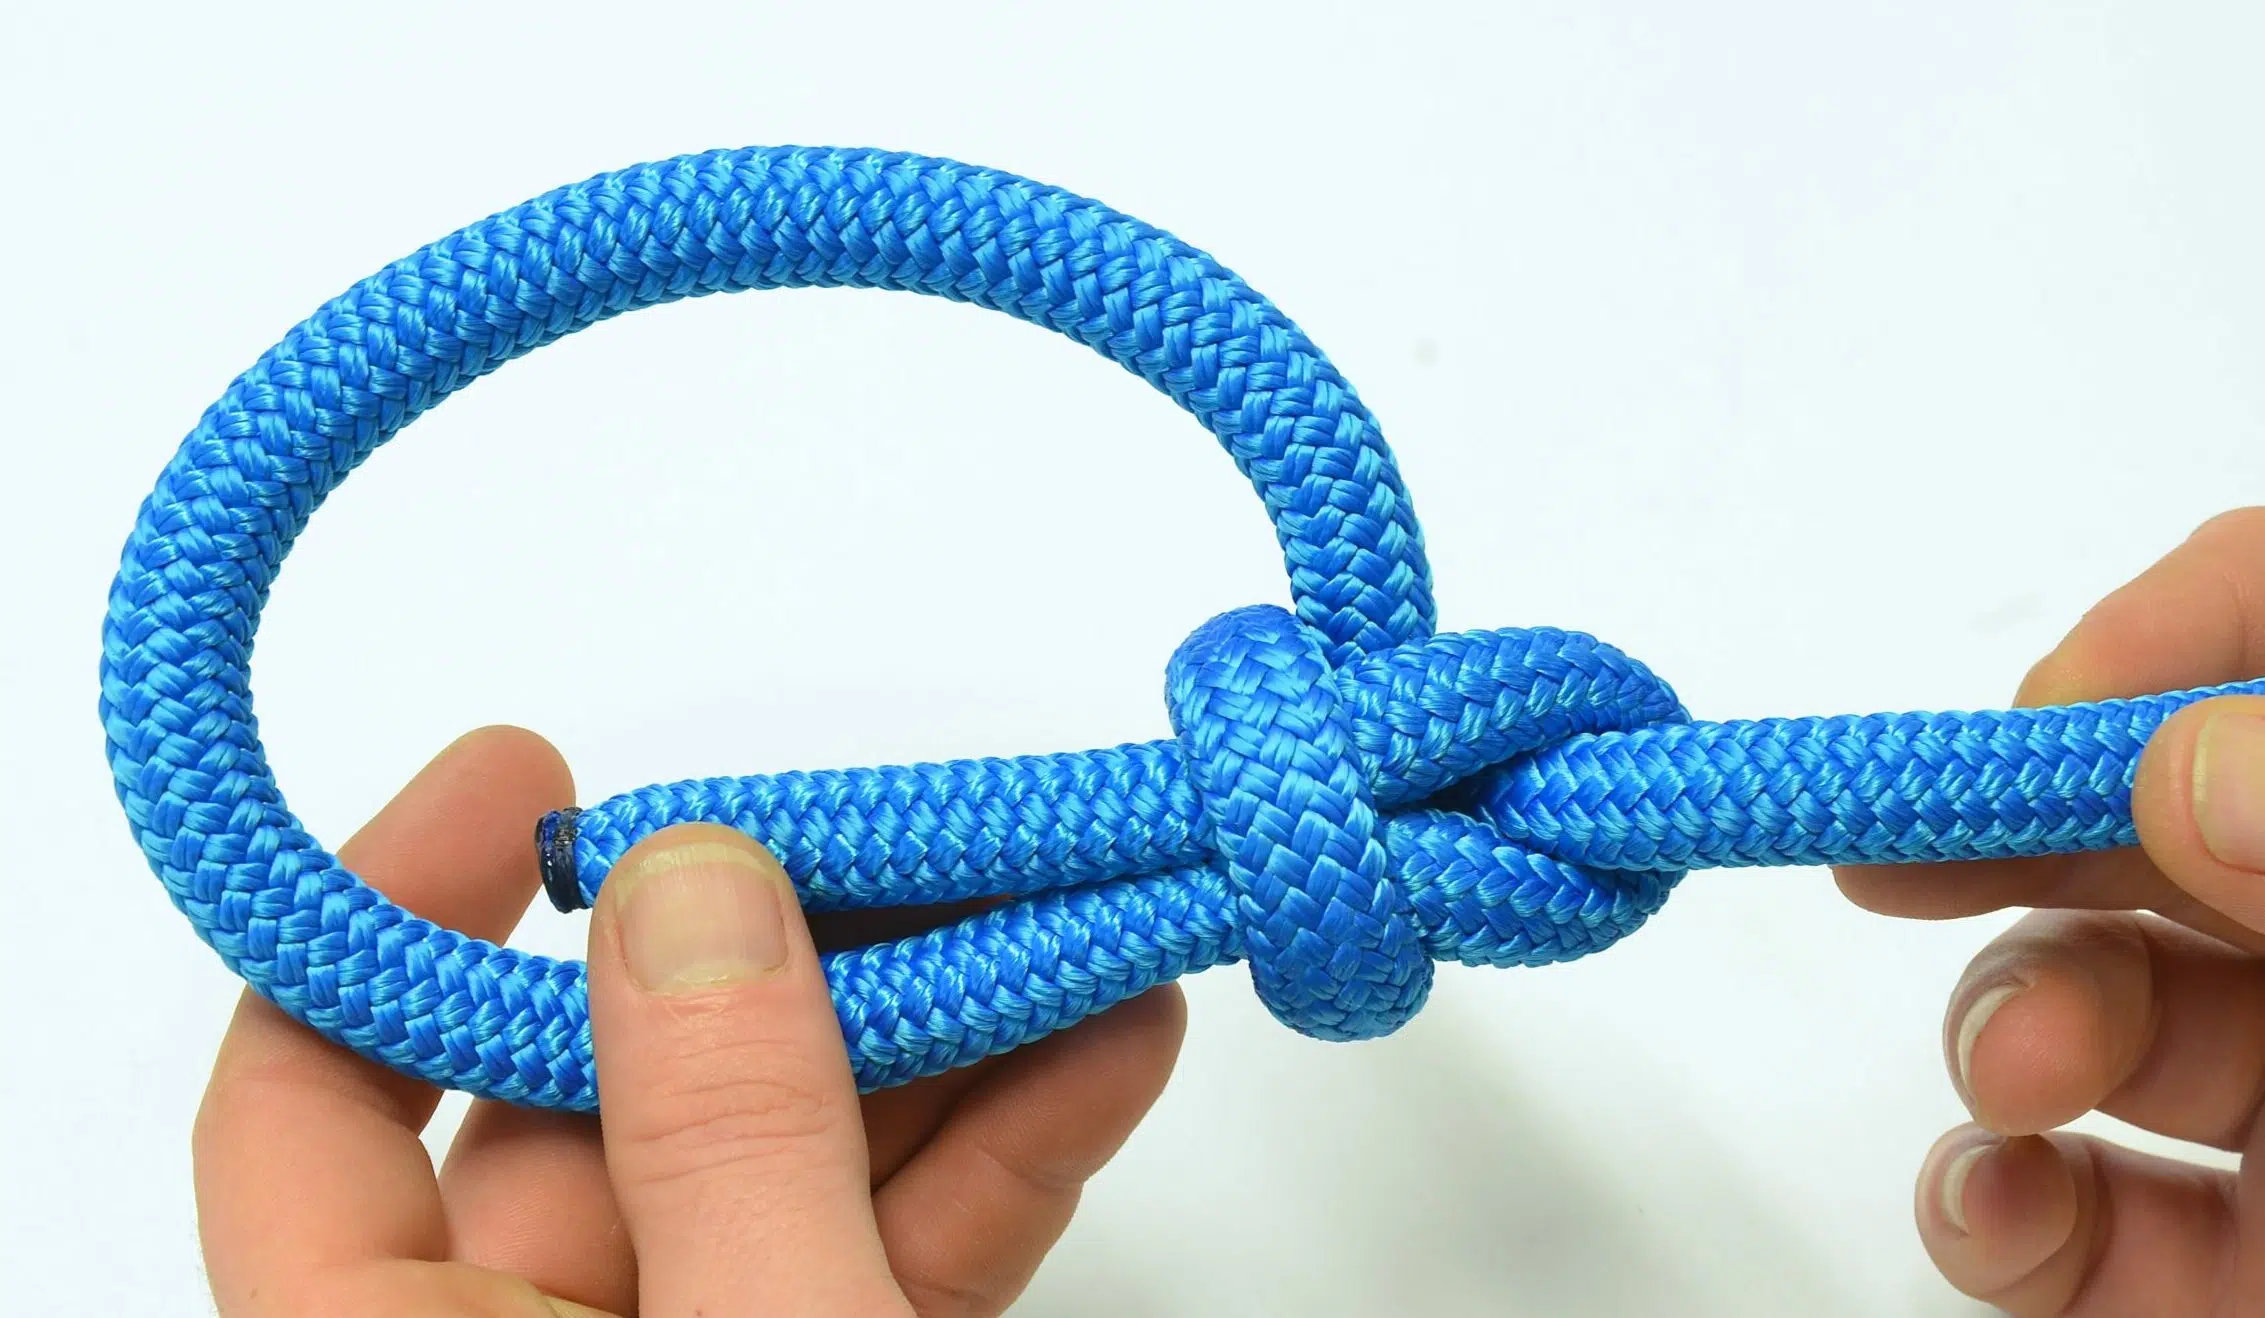
The bowline knot
The bowline knot is the most common loop knot: is used to fasten a sheet on a sail, to replace a halyard snap shackle, to mount a block and tackle, etc. It is frequently used as mooring knot. But be careful, when the standing end of the rope is submitted to significant strain, it is impossible to loosen it! If you tie a bowline knot at one end of the line, then tie a cleat hitch or a two half-hitch knot at the other extremity, so you can loosen it but also adjust its tension. Finally, remember to leave enough length on the standing end and tighten it properly, so that the loop of the knot is not loose.
- The snake (the running end) comes out of the well (the loop). Caution, the root of the tree (the standing part) must be under the well!
- The snake then goes around the tree (the standing part of the rope).
- Then, the snake finally decides to go back into the well.
- Once completed, the bowline knot must be properly tightened.

Tip:
Press on the loop: even when tightened, the bowline is easy to undo

Tip:
Press on the loop: even when tightened, the bowline is easy to undo
The cleat hitch knot
The cleat hitch is a very effective mooring knot, assuming you use a rope suited to the size of the cleat. If the rope is too thin, the knot may slip. If the cleat is too small to hold the dock line, it may jump. The other precaution concerns slippery new dock lines: It is better to make an extra “eight figure” before making the locking half key. Besides that, the most simple version is the best. However, we can observe cleat hitches with stacked crossings: it is not necessary and can be dangerous if the dock line needs an emergency release. And if the cleat has to hold two dock lines, this clutters it unnecessarily. Don’t forget the complete round turn around the cleat: This has an effect on the knot’s hold but also on being able to untie it.
- Make a round turn (we insist on this point) around the base of the cleat.
- Run the rope diagonally and then under the cleat tip, while maintaining tension.
- Cross the rope over the cleat a second time: the rope will form a figure eight.
- Turn your hand over to make a loop: the extremity passes under the running end.
- Place the loop around the tip of the cleat: the running end is parallel to the 1st crossing.

Tip:
“Hauling in” a dock line on a cleat allows you to shorten it without getting hurt.
The round turn and two half hitches
“A round turn and two half hitches never fail”, as we say! But what is a half hitch? Tied on a rope, without running around a mooring post, the half hitch corresponds to a “half-knot”, or “simple knot”. This is the most basic knot but it has no real use on board. But combined with a round turn, two half keys are a real help to tie the boat to a ring or a U-bar at the extremity of a catway. A round turn is made with the dock line around the mooring post and the half hitches wrapped around the standing part of the mooring line. This knot holds very firmly (as long as you tighten each of the half hitches) and it can be untied under load. Therefore, It can be more adapted than the bowline when docking.
- First, make a round turn around the mooring post (imagine a mooring line in a ring).
- Make a first half hitch on the standing part of the rope.
- Make a second half hitch and tighten it against the first one.

To learn more about knots, please purchase the complete guide Modern Ropework & Sailing Knots !
-
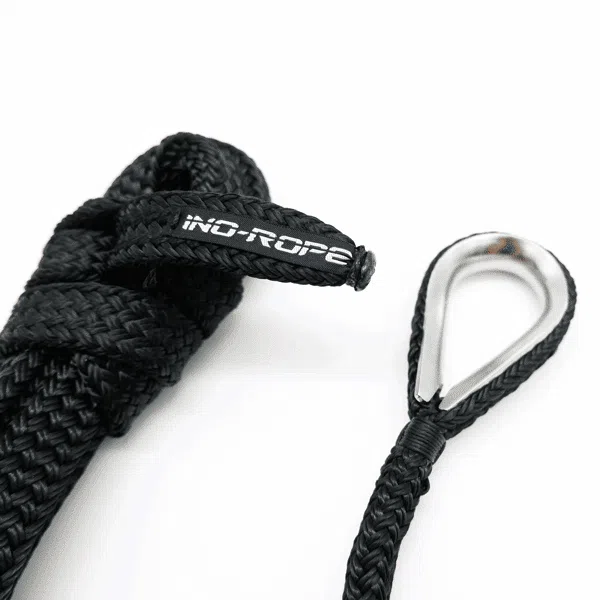
 Ready-to-use mooring rope with stainless steel thimble – Polyester flat braidConfigurable product
 -
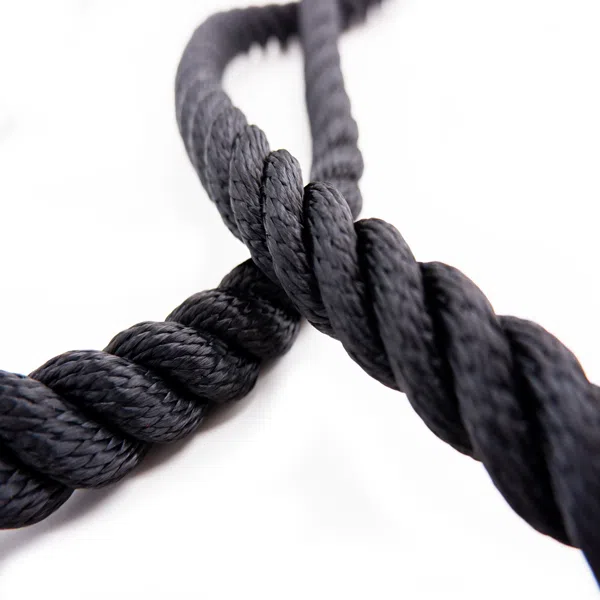
⌀ de 10 à 18 mm3-strand polyester docklinePrice range: 1,73 € through 5,24 € TTC
-
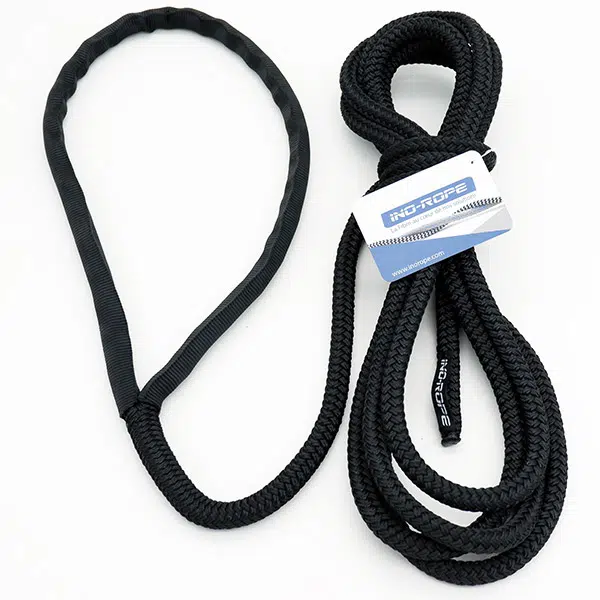
Amarre prête à l’emploi – Âme Polyamide et gaine PolyesterConfigurable product
-
⌀ de 12 à 18 mmDockline polyamide core and polyester coverPrice range: 6,14 € through 7,30 € TTC