Lashing : tutorial
With a lashing, you can do anything: replace block shackles, Jackline turnbuckles or even standing rigging ones. This practical tutorial with videos, teaches you the basics of lashing and provides several methods to accomplish them, with plenty of tips to help you !
Lashing : The basics
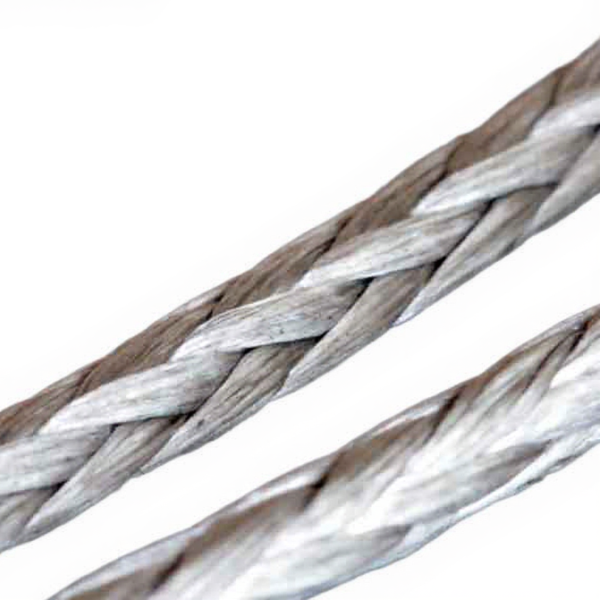
A lashing with a Dyneema® braid (high modulus polyethylene) is a light textile connection system, which is reliable, durable and resistant – providing that it is done by following some basic rules !
Strength calculation
- One generally considers, when applying a safety margin, that one run of lashing is equivalent to the resistance of the Dyneema® strand used:
1 run = 1 strand of resistance, 2 runs = 2 strands of resistance…
- Let us take the example of a lashing made with a 4 mm diameter Dyneema® braid whose resistance is 1.5 tons:
1 run = 1 strand of resistance = 1.5 t, 4 runs = 4 strands of resistance = 6 t
- This calculation corresponds to a lashing with knots, less solid than a spliced lashing. Knots lead to a greater loss of resistance:
Lashing with knots = – 45% of resistance, spliced lashing = – 20%
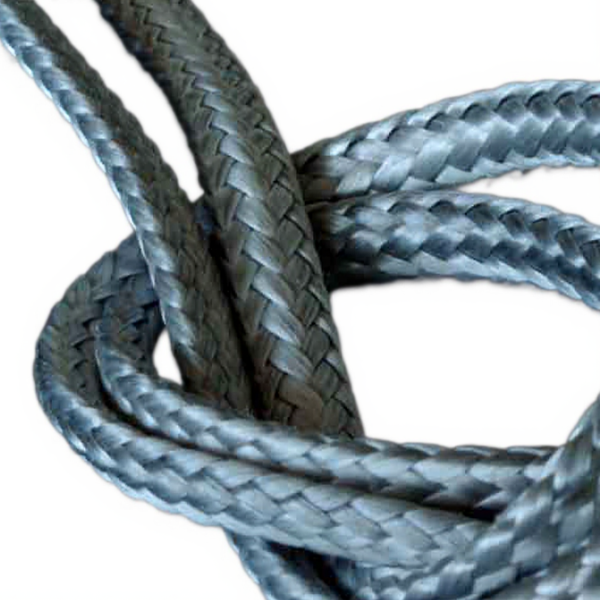
Choose a braid with tight pitch braiding: more rigid and more compact, it resists better to chafing. The coated Dyneema® is also more durable (resistance to UVs and to chafing is better).
Number of runs
A lashing must include between 2 and 6 runs for a good balance of the strands. Too many runs will decrease the lashing’s resistance. The strands risk overlapping each other. When a strand “crosses” the lashing, is not well balanced and its resistance decreases considerably. The strands must always be perfectly parallel to guarantee equal tension.
Bear in mind that the number of runs must be calculated according to the working load of the fitting to be fixed. In the same way, the calculation of the lashing resistance must take into account the Dyneema ® working load (tension for “normal use”) and not the breaking load (maximal tension before the braid breaks).
For “high load” lashings with maximum 6 runs, increase the resistance by choosing a superior Dyneema® diameter.
Working axis
Before lashing, take into consideration the working axis required. A lashing can work at an angle of 0° or 90°. This is the angle between the lashing fixing point (Ropeye textile chain plate) and that of the fitting to be fixed (Ino-Block) :
- lashing at 0° (circular running of strands): the chain plate and the block are oriented along the same axis
- lashing at 90° ( U-shape lashing) : the chainplate and the block are perpendicular
Be careful of the condition of the fixing point surface (stainless steel chainplate, for example): never lash on a sharp angle !
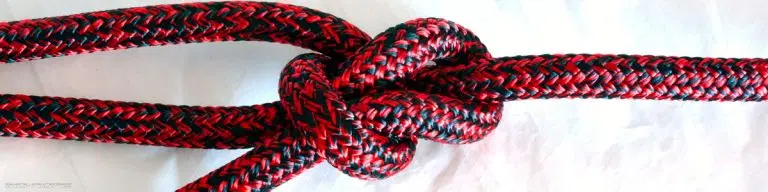
Lashing with half-hitches
The lashing with half-hitches technique, which includes all of the strands, is the most well-known and easy to undertake.
The half-hitches protect the lashing from chafing
Allow free rotational movement with a “swivel effect”
Requires a significant length of Dyneema®: 1.50 m for a 10 cm lashing.
The half-hitches can twist and loosen (Dyneema® is a slippery fibre).
Basic method easy to do
Half keys protect the transfilage from scratching
Lashing with “Lark head knot”.
This original method consists in splicing on the Dyneema® braid and then fixing it to the attachment point with a “lark’s head knot” (or cow hitch).
It is possible to prepare the splice in advance
Easy and quick realisation
Requires a significant length of Dyneema®: 1.50 m for a 10 cm lashing Half-hitch end finish: less resistance than a “loop lashing”
Possibility to prepare the splice in advance
Possibility of preparing the splice in advance: speed of execution
Lashing with loops
The lashing with a loop (two crossed splices) is the most resistant, but it also requires the most dexterity.Better strand balancing: less risk of crossing
Superior resistance: No knot
Standing rigging: not possible to subject to tension
Difficult to make”
Superior strength: no knots
Standing rigging: no possibility of tensioning
Difficulty of implementation
-
 Special rope scissors (Dyneema®, Kevlar®)Price range: 44,90 € through 49,90 € TTC
 -
⌀ de 2 à 10 mmDyneema® SK78 braid – no long braidPrice range: 0,83 € through 21,01 € TTC
-
⌀ de 2 à 10 mmLine for lashing, abrasion resistant | Dyneema®Price range: 1,07 € through 15,42 € TTC