Rope work tutorial : The locked splice
What is a locked splice and how can I make it ?
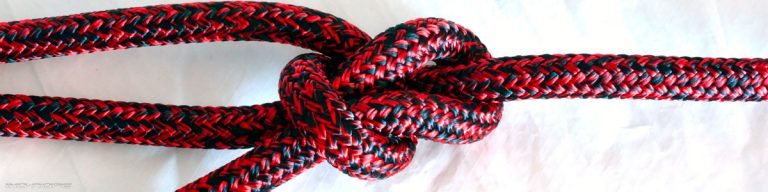
The locked splice, “New Zealand” or “Brumel” splice is an alternative to the simple braid splice. What is its specificity? As well as the constriction effect, a mechanical lock guaranties the splice’s holding power. These are the properties :
A splice that is easy to make: rope work accessible to everyone
A “minute” splice, very quick to make:No stitching
A splice that requires little Dyneema®: spliced length (50 x the diameter of the braid)
The locked splice is less robust than the single braid splice
The locked splice can replace the simple braid splice for lashing (low and medium loads). Half hitch knots lock the splice and make it more solid !
To know all about the locked splice and to learn how to make it by the book, click on the video tutorial below !
-
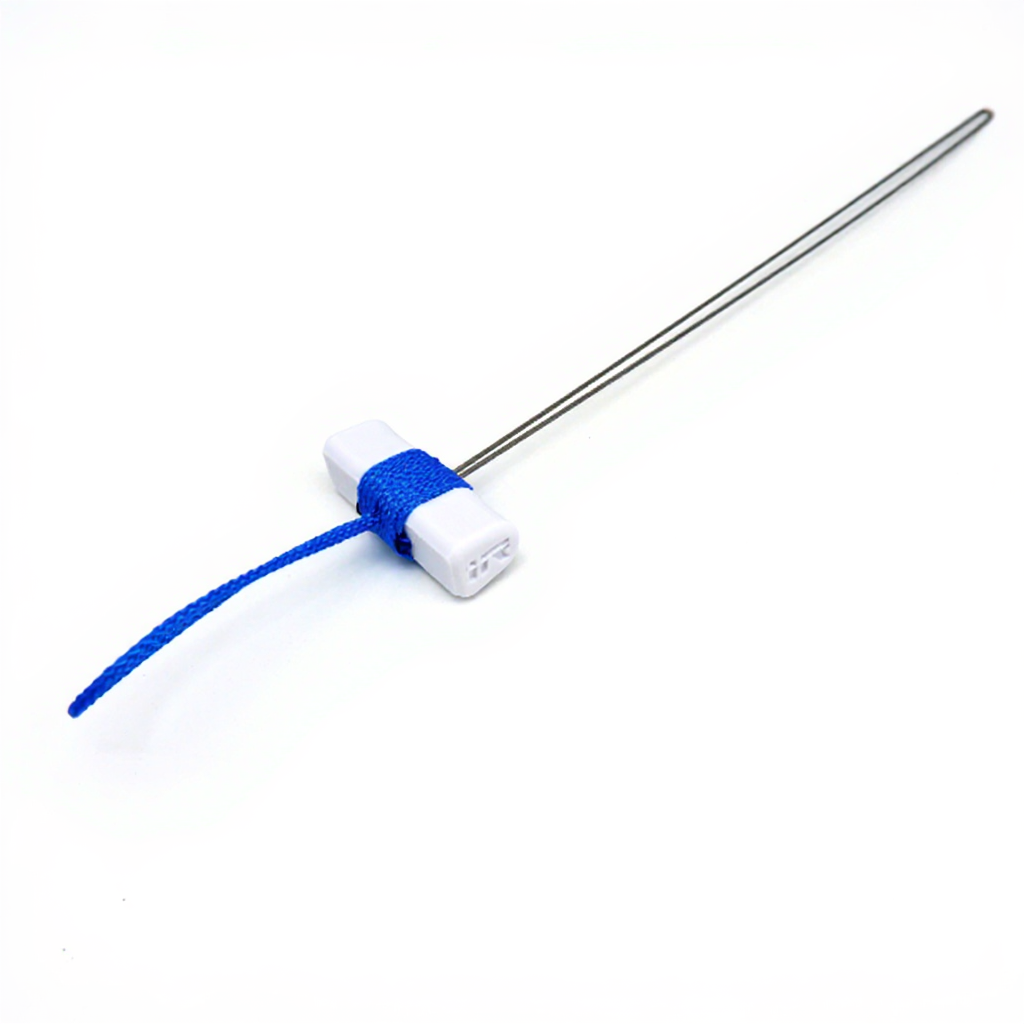
 Long eye splicing needles for seamanshipPrice range: 16,90 € through 24,90 € TTC
 -
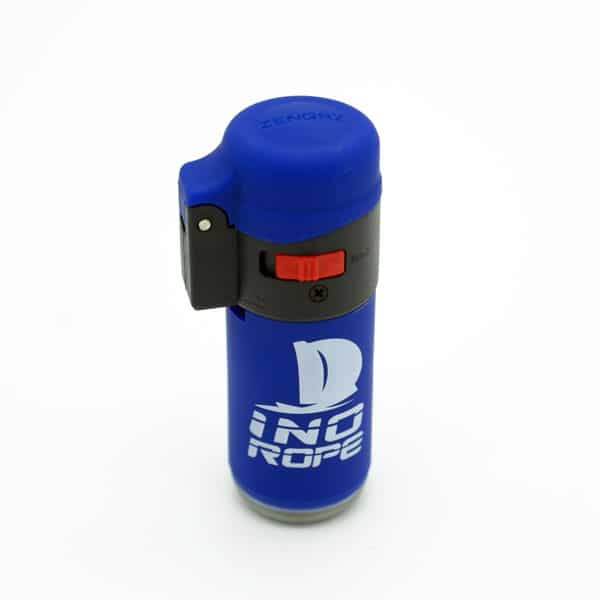
Ino-Rope storm lighter6,50 € TTC
-
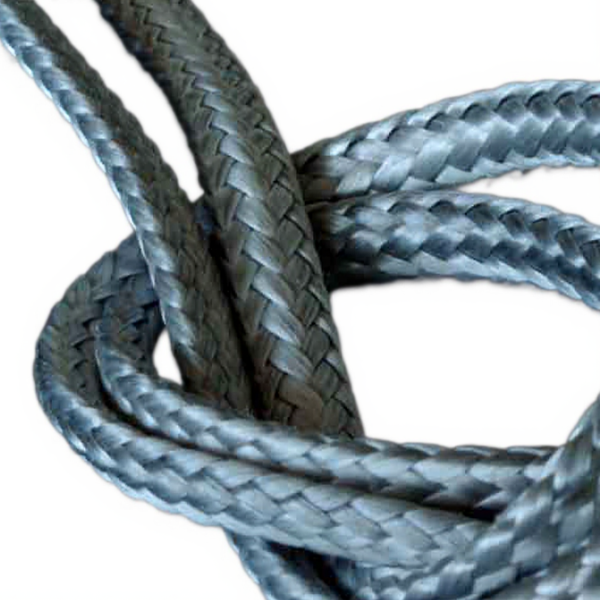
⌀ de 2 à 10 mmLine for lashing, abrasion resistant | Dyneema®Price range: 1,07 € through 15,42 € TTC